The bag you choose matters more than most preppers realize. Not because a better bag magically improves your gear — but because a bad bag fails at the worst possible time. Zippers blow out under load. Straps tear at the seams. Frames crack on rough terrain. Waterproofing that looked fine in your living room turns out to be decorative.
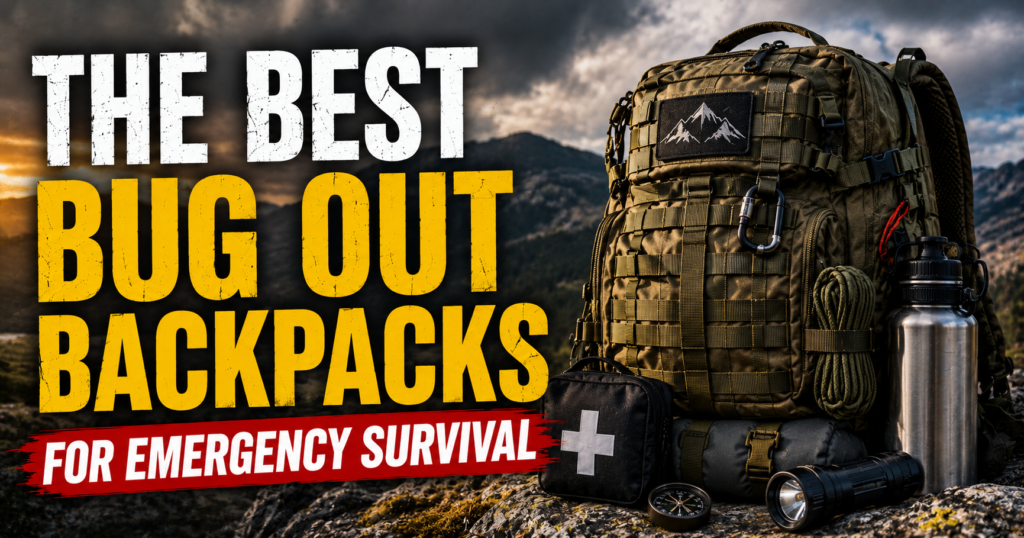
Your bug out bag is the one piece of gear that holds everything else together. Literally. If it fails, your water filter, your food, your first aid kit, and your fire kit are scattered on the ground behind you. Choosing the right bag from the start isn’t a luxury decision — it’s a survival decision.
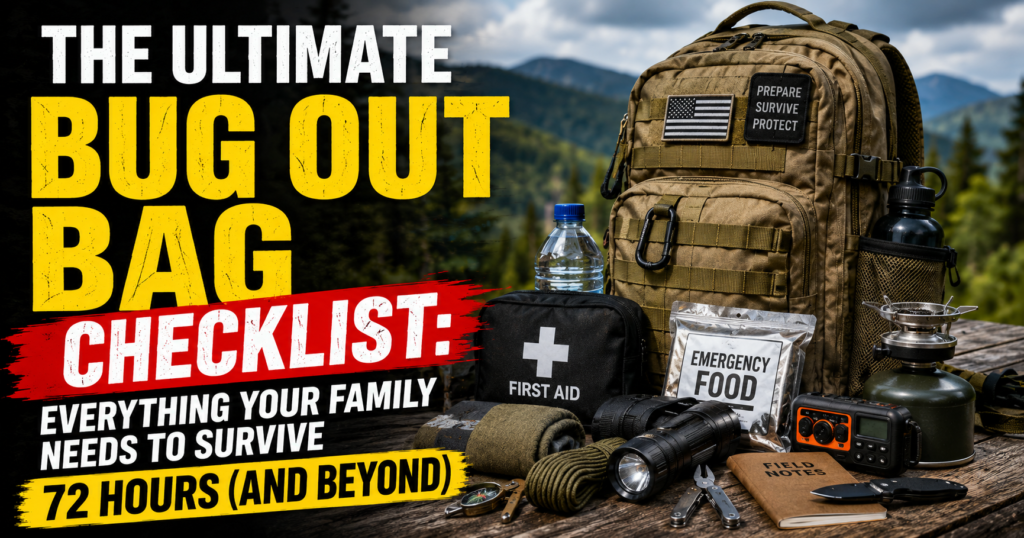
This guide covers what actually matters when selecting a bug out bag, the specs serious preppers look for, and the options worth your money at different price points.
What Makes a Bug Out Bag Different from a Regular Backpack
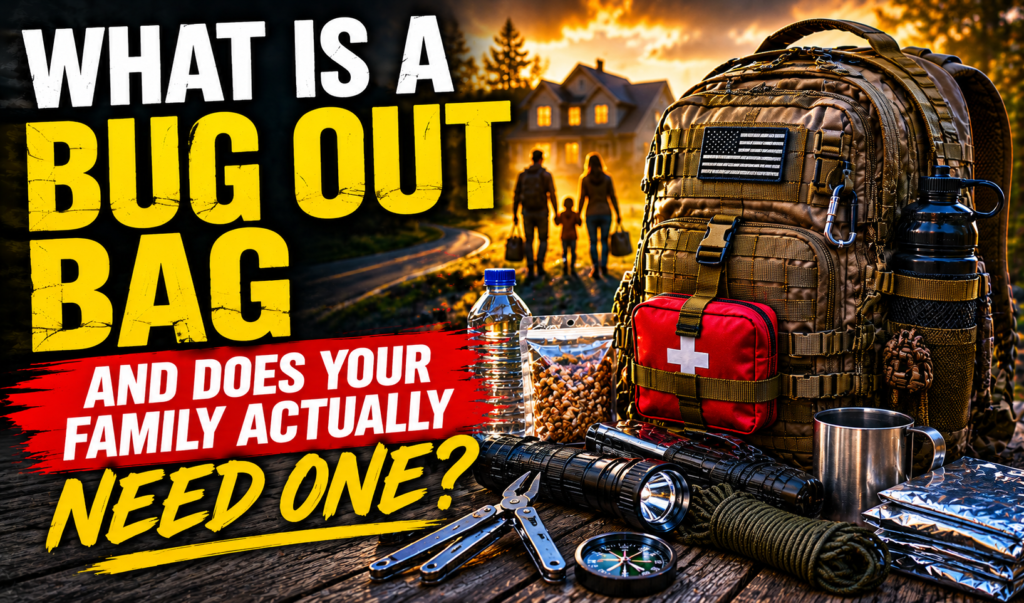
Any backpack can hold gear. Not every backpack can hold gear through a multi-day overland evacuation in bad weather with a stressed-out family moving as fast as they can. Before comparing construction and features, it helps to understand What Is a Bug Out Bag and Does Your Family Actually Need One and the situations it is meant to support.
A purpose-built bug out bag needs to do things a standard hiking pack or travel bag doesn’t. It needs MOLLE webbing for attaching external gear and pouches. It needs a frame or framesheet to distribute weight properly over long distances. It needs materials tough enough to take abuse from terrain, weather, and repeated loading and unloading under stress. And it needs an organizational system that lets you find anything quickly — including in the dark, including when your hands are cold, including when you’re moving fast and can’t stop to dig through a disorganized main compartment.
A regular hiking pack gets you close but usually lacks the tactical organization and MOLLE compatibility that makes a bug out bag genuinely functional. A military surplus bag is durable but often too heavy and poorly fitted for civilian use. The sweet spot is purpose-built tactical packs designed specifically for the kind of sustained, hard-use scenarios a bug out demands.
The Specs That Actually Matter
Capacity
For most adults building a 72-hour bug out bag, the target capacity range is 40–55 liters. Under 40 liters and you’re making hard compromises on critical gear categories. Over 55 liters and you’re fighting the temptation to fill every cubic inch — which leads directly to the overweight bag problems covered in the weight guide.
A 45-liter pack hits the sweet spot for most people. It fits a full 72-hour loadout with room for organization without becoming a bottomless pit that encourages overpacking.
Frame and Load Transfer
An internal frame or rigid framesheet transfers pack weight from your shoulders to your hips. Your hip flexors and legs can carry far more weight than your shoulders and neck — a properly fitted framed pack carrying 30 pounds feels dramatically more manageable than a frameless pack carrying 20. For any bug out bag you plan to carry for more than a few miles, a frame is non-negotiable.
Material and Construction
Look for 600D or higher polyester or nylon. Reinforced stress points at all attachment locations. Double-stitched seams on the shoulder straps, hip belt, and handle. YKK zippers or equivalent — budget zippers are the most common failure point on otherwise solid bags. Water-resistant coating on the exterior fabric as a minimum, with a rain cover included or available for your specific model.
MOLLE Compatibility
MOLLE webbing — the grid of nylon loops across the exterior panels — lets you attach additional pouches, tools, and accessories directly to the outside of your pack. This extends your effective capacity without increasing main compartment bulk and keeps frequently accessed items like your compass, whistle, and small first aid supplies within reach without opening the bag. Any serious bug out bag should have MOLLE coverage on at least the front panel and both side panels.
Hip Belt and Shoulder Straps
Padding density and adjustment range matter enormously for comfort under load over distance. A hip belt that doesn’t fit your body transfers no weight to your hips — it just rides around your waist doing nothing while your shoulders take the full load. Try the bag loaded before committing if possible. If ordering online, confirm the hip belt circumference range against your actual measurements.
Access Points
Top-loading only bags are efficient but require unpacking to reach anything in the lower two-thirds of the main compartment. Bags with a secondary clamshell or U-zip access on the main compartment let you reach any item without unpacking. Side pockets for water bottles are essential — you should be able to retrieve and replace a water bottle one-handed without removing the pack.
The Best Bug Out Bag Options by Category
Best Overall for Most Preppers
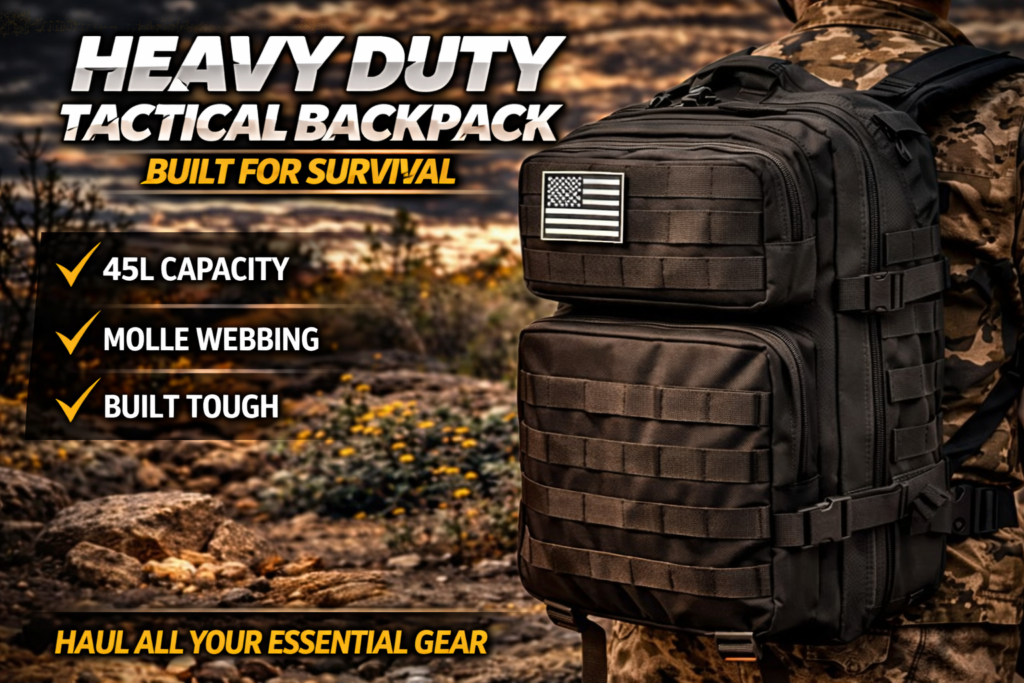
The QT&QY 45L Military Tactical Backpack earns its place as the recommendation for most preppers building their first or upgraded bug out bag. At 45 liters it hits the right capacity, the MOLLE coverage is extensive across all exterior panels, the internal frame transfers load properly, and the construction quality holds up to the kind of use a bug out scenario demands.
The organizational layout is genuinely well thought out — dedicated hydration bladder compartment, multiple internal dividers, external quick-access pockets sized for real gear rather than decorative zipper pulls. The hip belt padding is substantial enough to actually work, and the shoulder strap adjustment range covers most adult body types.
This is the bag we spec into the standard bug out bag build because it delivers legitimate tactical capability without the price tag of premium military contractor brands. For a first bug out bag or a family member who needs a solid proven option, start here.
What to Look for at Higher Price Points
If you’re willing to spend more, the features that justify the premium in bug out bag territory are straightforward: heavier-duty fabric (Cordura 1000D vs standard 600D polyester), more sophisticated suspension systems with adjustable torso length, better load transfer through the hip belt, and US-based quality control and warranty support.
Brands like 5.11 Tactical, Mystery Ranch, and Osprey’s tactical line occupy this space. They’re worth the investment if you’re planning for extended distances or particularly demanding terrain. For most suburban and rural preppers with a bug out route measured in miles rather than days of hiking, the performance gap over a well-built mid-range bag narrows considerably.
Kids’ Bug Out Bags
Children old enough to carry their own pack — generally eight and up — should have their own purpose-sized bag. Not a toy, not a school bag repurposed, but a properly fitted small pack they’ve practiced wearing loaded.
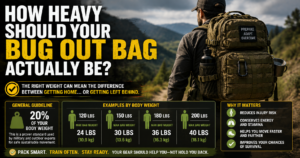
For kids, capacity targets drop to 10–20 liters depending on age and size. Weight stays under 10–15% of their body weight. The organizational complexity goes down — kids need to be able to access their snacks, water, and comfort items independently without adult help. A simple two-compartment design with exterior water bottle pockets works better for children than elaborate tactical organization systems designed for adults.
Getting kids involved in packing and testing their own bag builds familiarity and ownership of the family preparedness plan. A child who knows what’s in their bag and has practiced wearing it is an asset in an evacuation. A child handed an unfamiliar loaded pack at the moment of crisis is a problem.
Fit Matters More Than Brand
The best bag on paper becomes the worst bag in practice if it doesn’t fit your body correctly. Torso length — not your overall height — determines whether a pack fits. Measure from the C7 vertebra at the base of your neck to the top of your hip bones. Most packs come in small, medium, and large torso lengths. Match your measurement to the manufacturer’s sizing chart before ordering.
Once the bag arrives, load it to your target weight and spend twenty minutes adjusting the fit before your first test walk. Hip belt first — buckle it centered on your hip bones, not your waist. Tighten shoulder straps until they’re in contact with your shoulders but not pulling upward. Adjust the load lifter straps at the top of the shoulder straps until they angle at roughly 45 degrees. Clip and snug the sternum strap.
Done correctly, the majority of your pack weight should rest on your hips and legs — not your shoulders. If your shoulders are taking most of the load, your hip belt isn’t positioned or tightened correctly. Fix the fit before you decide the bag is the problem.
One Bag Per Person Every Time
A common mistake in family bug out planning is building one large bag and expecting one person to carry everything while others go unloaded. This creates a single point of failure — if the person carrying the bag goes down, gets separated, or simply can’t move fast enough, the family loses everything at once.
Every capable family member carries their own bag with their own survival essentials. Distribute critical categories across multiple bags so no single bag loss ends the mission. Both adults carry water filtration. Multiple people carry fire starting capability. First aid splits across the two primary adult bags.
This also solves your weight problem naturally. Four people each carrying 20 pounds moves faster and sustains longer than one person carrying 60 pounds and three people carrying nothing.
Test It Before You Trust It
Whatever bag you choose, run it through a real load test before you stake your family’s safety on it. Pack it to your full target weight. Walk five miles. Identify every friction point, every organizational failure, every fit issue. Do this before an emergency reveals them for you.
The bag that makes it through that test without blowing a seam, a zipper, or a strap attachment is a bag you can trust. The one that fails on a Tuesday afternoon walk fails you when it matters far more.
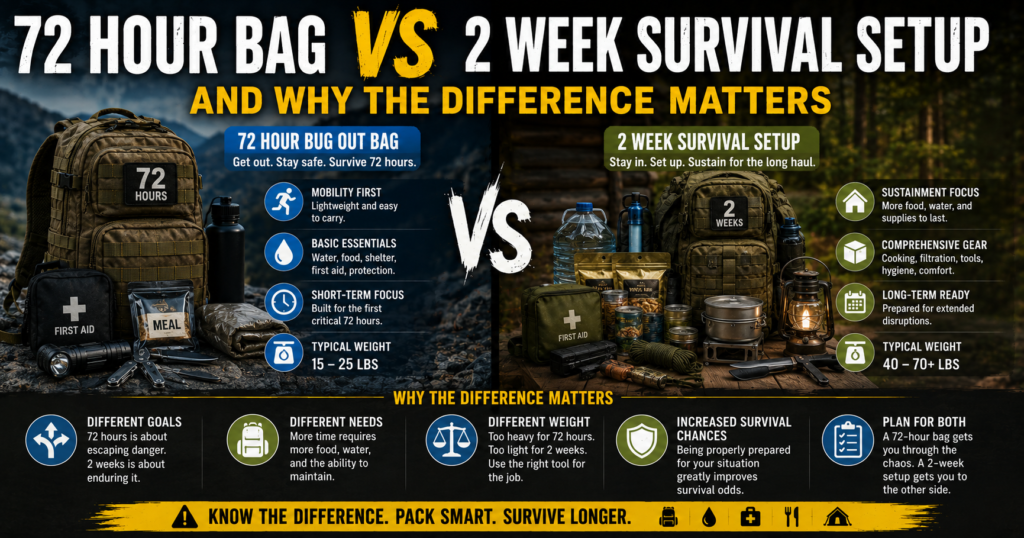
Build the bag right. Test it hard. Then move on to building the layers around it — because as covered in the 72-hour vs 2-week breakdown, the bag is just the first component of a real survival system.
About the Author: Jake Mercer spent 11 years in emergency management before turning his focus to practical preparedness education. He lives with his wife and three kids in rural Tennessee, where he tests gear year-round across varied terrain. He writes for Survive Essentials covering gear, planning, and the physical realities of real-world survival scenarios.