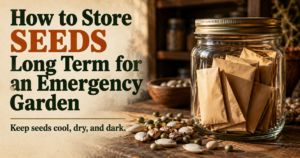
If I’m counting on garden seeds as part of an emergency food plan, I don’t want to discover five years from now that I carefully stored a box full of seeds that barely germinate.
Seeds are alive.
They may look like dry little pieces of nothing, but they’re still living plant material with a limited lifespan. Heat, moisture, poor storage, and time can gradually reduce their ability to germinate.
The basic storage strategy is actually pretty simple:
Keep seeds dry, keep them cool, keep temperatures reasonably stable, protect them from pests, and periodically test whether they’re still viable.
But there’s another part of emergency seed storage that I think matters just as much.
I want seeds I can actually grow, harvest, eat, and save again.
A sealed container marked “SURVIVAL SEEDS” doesn’t automatically give me that.
I Start With Seeds I’d Actually Grow
This is where I think some survival seed plans go wrong.
It’s tempting to buy the biggest collection possible.
Fifty varieties.
A hundred varieties.
Thousands upon thousands of seeds.
That sounds impressive.
But if half of those crops don’t grow well where I live, my family won’t eat them, or I have no idea how to grow them, the seed count doesn’t mean much.
For an emergency garden, I’d rather have dependable crops that make sense for my climate and household.
That could include things such as beans, peas, tomatoes, peppers, squash, cucumbers, lettuce, carrots, beets, cabbage, corn, and other crops appropriate for the area.
The exact list will vary by location.
The important part is that I know why each seed is there.


I Prefer Seeds I Can Save Again
For long-term self-reliance, open-pollinated varieties interest me because properly saved seed can generally produce plants resembling the parent variety when unwanted cross-pollination is controlled.
That’s useful if I’m thinking beyond one growing season.
Hybrid seeds aren’t somehow bad.
Many hybrids are excellent garden plants.
But seed saved from an F1 hybrid may not produce plants with the same characteristics as the parent plant.
So if my emergency plan includes producing and saving my own seed year after year, I want to understand that difference before buying the collection.

The Biggest Enemy Is Moisture
If there’s one thing I don’t want inside my long-term seed container, it’s moisture.
Seeds intended for storage need to be properly dry before they’re sealed away.
Moist conditions can encourage mold and deterioration and shorten storage life dramatically.
That’s why I don’t harvest seeds from the garden, toss them into an airtight jar while they’re still damp, and call that preservation.
Home-saved seeds need to be properly cleaned and dried first.
Cool and Dry Beats Warm and Damp
Seed longevity generally improves under cooler, drier storage conditions.
That’s why a hot shed isn’t my first choice.
Neither is an attic.
A garage that reaches extreme summer temperatures isn’t ideal either.
For ordinary household seed storage, I want somewhere cool, dry, dark, and relatively stable.
If I have appropriate refrigerator space and can keep the seeds dry and properly contained, refrigeration can extend seed life considerably.

An Airtight Container Helps Control Moisture
Once the seeds are appropriately dry, I like storing them inside a moisture-resistant airtight container.
That might be a quality jar or another durable airtight container.
The original paper packets can remain useful for keeping varieties separated and labeled, then those packets can go inside the larger sealed container.
That gives me organization and another layer of protection.
I Use Desiccant Carefully
A desiccant such as silica gel can help manage residual moisture inside a sealed seed-storage container.
That’s particularly useful when long-term storage is the goal.
But desiccant isn’t magic.
It doesn’t fix seeds that were packed away wet.
I want properly dried seeds first, then a dry storage environment that helps keep them that way.
I Label Everything
Five years from now, I don’t want to open a container and find 30 mysterious envelopes labeled:
Beans
That’s not enough information.
I want to know things like:
Crop
Variety
Year packed or harvested
Source
And for home-saved seeds, any useful notes about where they came from.
Good labeling costs practically nothing and makes the seed collection far more useful later.
I Keep a Simple Seed Inventory
This doesn’t need to become complicated.
A sheet of paper stored with the seeds can work.
I want to know what I have, roughly how much I have, and how old it is.
That prevents the emergency seed collection from becoming a forgotten box that nobody opens for ten years.


Different Seeds Don’t Last the Same Amount of Time
This is one reason I don’t like blanket statements such as:
“Garden seeds last five years.”
Which seeds?
Stored how?
Under what temperature and humidity?
Seed longevity varies substantially by species and storage conditions.
Some vegetable seeds remain viable for several years under good storage.
Others lose germination more quickly.
That’s why the calendar alone isn’t enough for me.
I test germination.
A Germination Test Tells Me More Than Guessing
This is one of my favorite tricks because it’s cheap and actually gives me useful information.
If I’ve stored a packet for several years, I can take a small sample and test it before depending on the entire packet.
For example, if I test ten seeds and eight germinate, I’ve got roughly an 80% germination result from that small sample.
If only two germinate, I know something has changed.
I can plant more heavily, replace the seed, or grow the remaining viable plants and replenish my seed supply when appropriate.
That’s much better than discovering poor germination after I’ve planted the entire garden.

I Rotate Seeds Instead of Trying to Preserve Them Forever
This is probably the biggest difference between my approach and buying a “25-year survival seed vault” and never touching it.
I’d rather rotate.
Grow some.
Replace some.
Save seed from appropriate varieties when I know how.
Test older seed.
Keep the collection alive.
That’s a much stronger system than treating seeds like ammunition sealed away for the apocalypse.
I Want to Practice Growing the Seeds Now
This may be the most important section in this article.
A seed bank doesn’t make me a gardener.
If food becomes difficult to obtain and that’s the first year I’ve ever tried growing carrots, beans, squash, tomatoes, corn, and cabbage, I’m learning at the worst possible time.
Gardening has a learning curve.
Soil matters.
Weather matters.
Planting dates matter.
Pests matter.
Disease matters.
Watering matters.
Spacing matters.
Harvest timing matters.
Seed saving adds another layer.
I’d much rather make those mistakes now while the grocery store is open.
Calories Matter in an Emergency Garden
Another thing I wouldn’t do is build an emergency garden entirely around salad vegetables.
Lettuce is useful.
So are tomatoes and cucumbers.
But if I’m thinking seriously about food resilience, I also care about crops that provide meaningful calories and storage potential.
Beans.
Corn.
Winter squash.
Potatoes, although they’re normally propagated differently than garden seed.
Other staple crops appropriate for the location.
My emergency garden should help feed people, not simply produce attractive salads.
I Think About Protein Too
Dry beans and peas become especially interesting here.
They can provide protein, calories, and storability while also fitting naturally into a garden-based preparedness plan.

Again, that doesn’t mean I plant 90% beans.
It means I think about what the harvest actually contributes to the household.
I Store More Than One Year’s Worth
A failed garden is possible.
Bad weather happens.
Insects happen.
Disease happens.
Animals happen.
Germination can disappoint me.
If my entire emergency garden depends on one tiny packet of each vegetable, I don’t have much margin for failure.
I prefer redundancy.
Enough seed to try again matters.
But I Don’t Buy More Than I Can Realistically Maintain
There’s another side to this.
A gigantic seed collection eventually becomes a gigantic seed-rotation problem.
If I have 300 varieties I’ve never grown, testing and replacing all of them becomes ridiculous.
I’d rather have a thoughtful core collection I understand.
Preparedness isn’t about owning the most stuff.
It’s about having useful options.
I Protect Seeds From Rodents and Insects
This is another reason sturdy containers matter.
A mouse doesn’t care that the seeds are part of my emergency plan.
If they’re accessible and edible, they’re food.
A durable sealed container adds physical protection in addition to moisture control.
I Don’t Store My Only Seed Collection Where One Problem Can Destroy It
If I’ve built a genuinely valuable seed collection, I don’t love the idea of one leak, flood, fire, or rodent problem destroying everything.
Depending on how serious I am about seed saving, separating some backup seed can make sense.
It doesn’t need to become complicated.
I’m simply avoiding one obvious point of failure.
Freezing Seeds Can Work, but Moisture Control Becomes Critical
Very cold storage can greatly extend the lifespan of properly dried seeds.
But this isn’t as simple as tossing ordinary seed packets into the freezer beside the frozen pizza.
Seeds need to be sufficiently dry and properly sealed.
Temperature changes can also cause condensation.
For the average household emergency garden, cool dry storage or appropriate refrigerator storage may be much easier to manage correctly.
If I’m building a serious long-term seed bank, then I’d learn the specific storage requirements rather than improvising.
I Let Cold Seeds Warm Up Before Opening the Container
This is a small detail that can prevent a big mistake.
If seeds have been stored in a refrigerator or freezer inside a sealed container, I don’t immediately open that cold container in warm humid air.
I’d let the sealed container come closer to room temperature first.
Otherwise moisture can condense on the cold seeds or packaging.
And moisture is exactly what I’ve been trying to avoid.
My Refrigerator Isn’t Automatically a Perfect Seed Vault
Refrigeration can help, but refrigerators also contain humidity and experience temperature changes as doors open.
That’s why the container still matters.
I don’t toss loose paper seed packets onto a refrigerator shelf and assume I’ve solved long-term storage.
Dry seeds plus a well-sealed container is the combination I’m after.
I Keep Seeds Away From Heat
This sounds obvious, but think about common storage locations.
Garage.
Shed.
Attic.
Workshop.
Those spaces can become brutally hot during summer.
A location that’s convenient isn’t necessarily a good long-term seed-storage location.
For a collection I’m actually depending on, temperature stability matters more to me than convenience.
I Keep Them Away From Direct Sunlight
Seeds don’t need a sunny windowsill while they’re waiting to be planted.
A dark storage location helps keep conditions stable and protects the packaging and contents from unnecessary light exposure.
My emergency seeds don’t need to be displayed.
They need to remain viable.
Home-Saved Seeds Need More Work
Buying a packet from a reputable seed company is easy.
Saving my own seed correctly requires understanding the crop.
Some plants readily cross-pollinate.
Some are biennial and don’t produce seed until their second year.
Some fruits need to mature beyond the stage when we’d normally eat them before the seed is ready.
Some seed needs fermentation or additional cleaning.
That’s why I don’t assume “let one plant go to seed” is the entire process.
Seed saving is a skill worth learning crop by crop.
I Would Start With Easier Seed-Saving Crops
For someone completely new to seed saving, I’d rather learn on crops where the process is relatively approachable than immediately attempt to maintain genetically pure seed from everything in the garden.
Beans, peas, lettuce, and tomatoes are common starting points, although even these still have variety-specific considerations.
Success builds skill.
That’s what I want.
Emergency Seeds Fit the Food-Storage Plan, Not Replace It
A garden isn’t instant food.
Seeds need to germinate.
Plants need to grow.
Some crops take months to produce.
Weather can ruin them.
That’s why I don’t see garden seed as a replacement for stored emergency food.
It’s another layer.
Stored food handles the immediate disruption.
A garden can help provide longer-term food resilience.
Those two strategies complement each other.
I Still Need Water to Grow Any of This
A box full of seeds doesn’t solve a drought.
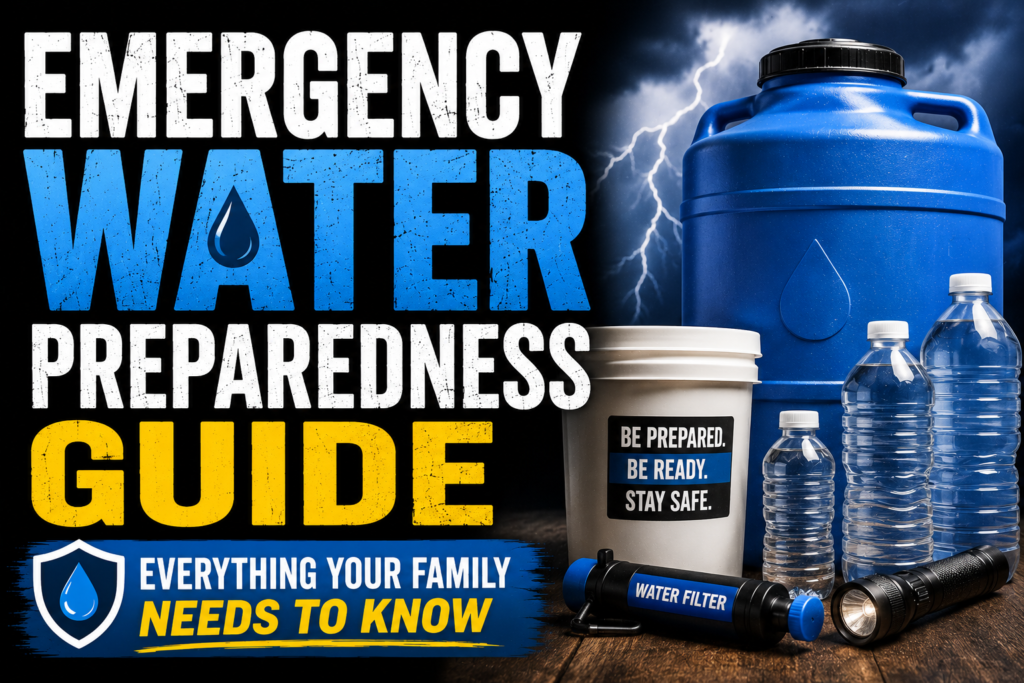
That’s another reason our emergency water preparedness guide matters beyond drinking water.
A serious emergency garden eventually creates water demands of its own.
Before planning to grow half an acre of emergency food, I’d want to think honestly about where that water comes from if normal utilities aren’t available.
Seeds Are Cheap Enough That I Like Having Them Before I Need Them
This is one preparedness category where getting started doesn’t have to cost a fortune.
A handful of carefully selected seed packets can provide an enormous amount of potential food compared with the space they occupy.
But the potential only becomes useful when the seeds still germinate and I know how to grow them.
That’s why storage and practice matter equally.
My Simple Emergency Seed Storage System
If I were putting together a collection today, I’d keep it straightforward.
I’d choose crops appropriate for my climate and household.
I’d favor open-pollinated varieties where future seed saving is important.
I’d make sure the seeds are properly dry.
I’d label every variety and year.
I’d keep the packets inside a dry, airtight container.
I’d use appropriate desiccant where useful.
I’d store the container somewhere cool, dark, and temperature-stable.
I’d test older seed periodically.
And most importantly, I’d actually plant some of it.
I Don’t Want My First Emergency Garden to Be My First Garden
That’s really the point of all of this.
I can store seeds correctly for years.
I can buy an impressive seed vault.
I can organize everything beautifully.
None of that guarantees food.
The real preparedness skill is knowing how to turn those seeds into plants, those plants into a harvest, and at least some of that harvest back into viable seed for another year.
So I wouldn’t hide my entire emergency seed collection away and hope I never need it.
I’d garden with it.
Learn from it.
Rotate it.
Replace what performs poorly.
Save seed where it makes sense.
By the time I truly need an emergency garden, I don’t want to be opening an instruction booklet.
I want to be planting varieties I’ve already grown successfully before.
About the Author
Evan Brooks writes about emergency food production, gardening, seed storage, foraging, and practical household self-reliance for Survive Essentials. His work focuses on preparedness systems that can be practiced before an emergency, including growing food, maintaining useful seed supplies, and building skills that remain valuable even when stores and supply chains are operating normally.